Mudjacking pros and cons: the honest 2026 verdict for your sinking walkway
⏱️ 8 min read · Last updated: 2026
If your walkway, patio, or driveway has started to sink, mudjacking can be one of the fastest and most affordable ways to bring it back to level in 2026. It works best when the settlement is modest, the soil is stable, and drainage is already under control. In those conditions, mudjacking can raise concrete quickly, cost less than replacement, and get the surface usable again the same day. But if the underlying soil is weak or water keeps washing through the area, the repair may not last. That is why understanding the mudjacking pros and cons is essential before you decide what to do.
- Average cost: $3–$6 per square foot, commonly 30–50% less than full slab replacement.
- Typical project time: 2–4 hours for a standard driveway, with walkable access after 24 hours.
- Material weight: Mudjacking slurry weighs approximately 150 lbs per cubic foot, compared to 2–5 lbs for polyurethane foam.
- Lifespan: 5–10 years, heavily dependent on underlying soil stability and drainage.
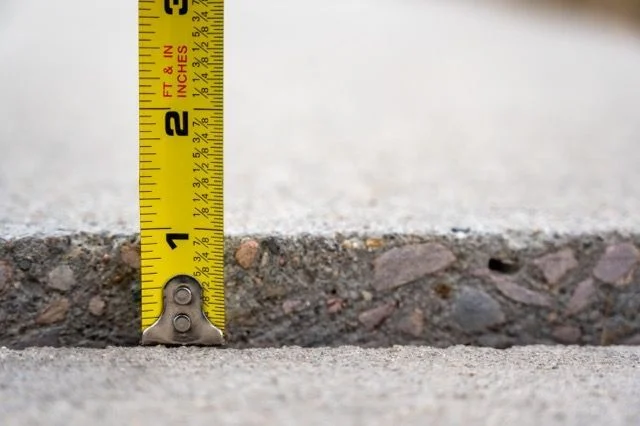
- Best for: lifting slabs with less than 2 inches of settlement in well-drained, cohesive soils.
How mudjacking actually works and why the soil matters
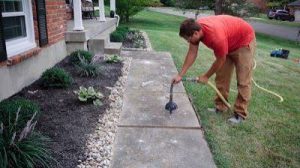
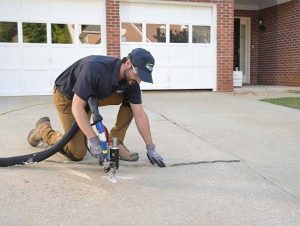
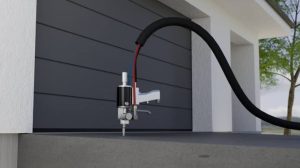
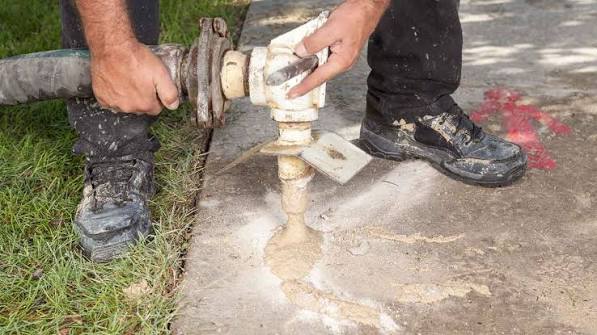
To see where mudjacking fits, it helps to start with the process itself. A crew pumps a slurry beneath the concrete through drilled holes, and as the voids fill, the slab rises back toward level.
That slurry is usually a mix of topsoil, sand, cement, and water. Because it is dense, the ground underneath has to be strong enough to support it. On firm, cohesive soil, the lift can be clean and reliable. On weak, sandy, or saturated ground, the same weight can create new problems instead of solving the old one.
The crew typically drills 5/8-inch injection holes in a pattern, then lifts the slab slowly—often a quarter inch at a time—while checking the level. Once the concrete sits where it should, they patch the holes and clean the surface. With that foundation in mind, the next step is weighing the mudjacking pros and cons more carefully.
What are the real pros and cons of mudjacking?
Once you know how the lift works, the advantages become easier to judge. The biggest one is cost: mudjacking usually runs 30–50% less than tearing out and replacing the slab. It is also fast, which means most homeowners can use the walkway the next day instead of waiting through a full replacement cure cycle.
At the same time, the same dense slurry that makes the lift possible can also be the downside. On soft clay or organic soil, the added weight may settle again over time. It can also be messier than foam, so cleanup matters. In other words, mudjacking is effective, but only when the site conditions are right.
| Factor | Mudjacking Pro | Mudjacking Con |
|---|---|---|
| Upfront Cost | 30-50% cheaper than full replacement. | May need re-leveling sooner than foam. |
| Material Weight | Dense fill provides solid feel underfoot. | Adds ~150 lbs per cubic foot to weak soil. |
| Climate Resilience | Good in arid or stable soil regions. | Vulnerable to water erosion in wet climates. |
That tradeoff is why material choice matters so much over time. Mudjacking can hold up well, but only if the ground beneath it stays stable and dry. When those conditions are missing, the lower price can disappear into repeat repairs, which is why many homeowners compare it carefully with foam before making a final decision.
What does mudjacking vs. polyjacking actually cost in 2026?
With the strengths and weaknesses in mind, price becomes the next major question. Mudjacking generally costs $3–$6 per square foot. Polyurethane foam, or polyurethane foam injection, usually costs $5–$10 per square foot.
A typical two-car driveway covers 400 sq ft. Mudjacking might cost $1,200–$2,400, while foam could land at $2,000–$4,000. The difference matters most on smaller projects. On larger ones, the gap narrows, although foam often leaves fewer holes and less cleanup behind.
As of 2026, the average cost gap between mudjacking and foam leveling is about $2.50 per square foot, with foam being the premium option.
That said, upfront cost is only part of the story. Mudjacking may need another repair sooner, while foam can last longer in many settings. For a deeper side-by-side breakdown, see polyjacking cost vs mudjacking cost.
What is the correct mudjacking process step by step?
After comparing costs, it is worth looking at the repair process itself. The work should be careful from the start and tidy at the end, because a slab that is lifted too fast or without proper prep can look good for a day and fail later.
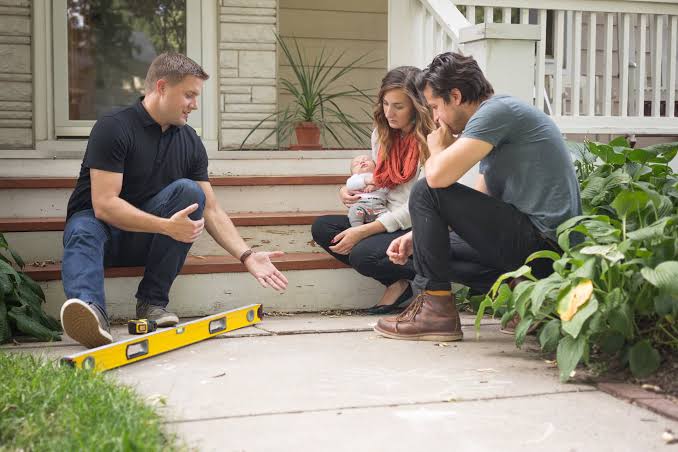
- Site Inspection & Marking: Walk the slab, mark low spots and cracks, and check whether water drains toward the foundation.
- Hole Drilling: Drill 1-2 inch diameter holes in a grid pattern, usually 3-4 feet apart, with holes placed over the most sunken areas and slab edges.
- Slurry Mixing: Mix cement, sand, soil, and water on-site until the consistency looks like thick oatmeal.
- Controlled Injection: Pump slowly while a partner watches a level on the slab. Lift no more than 1/4 inch per minute to avoid cracking.
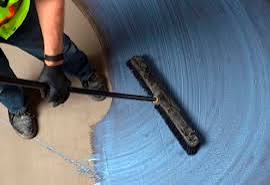
- Patch & Finish: Fill the holes with concrete patch mix and smooth them with a trowel.
- Cure & Clean: Keep the area clear for 24 hours and wash slurry splatter off adjacent surfaces before it hardens.
Does mudjacking hold up in freeze-thaw climates?
Cold weather changes the equation, especially where freeze-thaw cycles are common. Mudjacking can work in northern climates, but only when drainage is excellent. If water can collect under the slab, freezing temperatures can make the problem return faster.
That is why the material itself matters too. The slurry can hold moisture, and repeated freezing can expand small gaps under the concrete. In northern states, homeowners often compare polyjacking vs mudjacking for freeze-thaw climates before deciding.
In practice, the subgrade matters as much as the repair method. Better drainage usually means better results, and foam often has an edge in wet, cold conditions because it does not absorb water the way mudjacking material can.
When is mudjacking the right call, and when is it not?
So when does mudjacking make sense? It is a good fit when the slab has less than 2 inches of settlement, the soil is cohesive, and drainage is already working well. That makes it a strong option for walkways, patios, and some interior slabs over compacted fill.
From there, the warning signs are usually easy to spot. Skip mudjacking for areas where water keeps reaching the slab, where the soil is expansive or unstable, or where the settlement is too severe for a simple lift. When the problem is ongoing soil movement rather than a one-time void, even a good repair may be temporary.
Mudjacking vs polyjacking often comes down to the cause of the settlement. Mudjacking is best when the slab needs support restored under it. Foam is often better when the priority is filling voids with less added weight. That distinction helps explain why one repair lasts and another does not.
What is the biggest mistake people make about mudjacking?
The biggest mistake is treating mudjacking like a permanent foundation repair. It lifts the slab, but it does not correct the drainage or soil issue that caused the sinking in the first place.
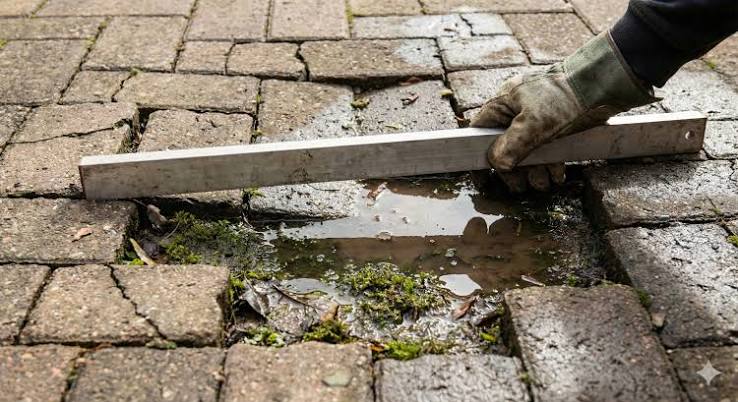
That is why some repairs fail early. If a downspout keeps dumping water beside the concrete, the soil can wash out again and the slab can drop back down. The lift may have been done correctly, but the site conditions were never fixed.
The prevention is straightforward. Send gutters and downspouts at least 4 feet away from the slab, and grade the soil so it slopes away from the concrete. Do that, and the repair has a much better chance of lasting.
- Mudjacking’s core advantage is its lower upfront cost, often 30-50% less than alternatives.
- Its main drawback is material weight (~150 lbs/cu ft), which can be problematic on weak soils.
- Longevity depends entirely on fixing the water drainage problem that caused the sinking in the first place.
- It is best for minor lifts (under 2 inches) on stable soil in well-drained areas.
Common questions about mudjacking pros and cons
How long does mudjacking take from start to finish?
A typical residential driveway or walkway takes 2–4 hours to complete, including drilling, lifting, and patching. You can walk on the surface after 24 hours of curing time. Full strength is achieved in about 7 days.
Will mudjacking fix cracks in my driveway?
Mudjacking can close gaps between cracked slabs by lifting them back to a level position. It does not repair the cracks themselves. The cracks will remain visible unless the slab is replaced. Structural cracks may widen after lifting if the slab is unevenly supported.
Is mudjacking a DIY project or do I need a professional?
Mudjacking requires specialized pumps, mixers, and experience to avoid cracking the slab further. A professional crew with the right equipment completes the job safely and efficiently, which is why it’s recommended.
How can I tell if my soil is suitable for mudjacking?
Ideal soil is firm and cohesive, like clay or packed earth. If you can push a screwdriver into the soil easily, it’s too soft. A soil test from a lab or a simple probe test by a qualified contractor can determine suitability before you commit.
What’s the biggest mistake people make after mudjacking?
Neglecting to improve drainage. Without redirecting water away from the repaired slab, the soil will erode again, and the slab will sink back to its original position, wasting the investment in the repair.
The bottom line
Mudjacking is a practical, budget-friendly solution for the right kind of settlement. It is strongest on small lifts, stable soil, and sites with good drainage. In those cases, the repair can be quick, cost-effective, and durable enough to make sense.
For the wrong conditions, however, the limits matter more than the savings. Heavy material, wet soil, and poor drainage can shorten the life of the repair, so the key question is not just how to raise the slab but why it sank in the first place. Ask for a quote that includes a drainage check, then compare the mudjacking pros and cons against foam or replacement before deciding.
For a full comparison of all available methods, see our guide: Mudjacking vs Polyjacking vs Replacement: Choosing the Right Method.
Frequently asked questions about mudjacking pros and cons
How long does mudjacking take from start to finish?
Will mudjacking fix cracks in my driveway?
Is mudjacking a DIY project or do I need a professional?
How can I tell if my soil is suitable for mudjacking?
What’s the biggest mistake people make after mudjacking?
See also: polyurethane foam injection pros and cons
See also: mudjacking vs polyjacking
See also: polyjacking cost vs mudjacking cost
Related: slabjacking process explained
See also: polyurethane foam injection pros and cons
See also: mudjacking vs polyjacking
See also: polyjacking cost vs mudjacking cost