Slabjacking process explained: What actually works in 2026
⏱️ 9 min read · Last updated: 2026
Slabjacking fixes sunken concrete by drilling small holes, pumping a cement-based slurry underneath, and lifting the slab back to level. The slabjacking process explained simply: it works best when the concrete is intact and has settled 1–3 inches, but it cannot solve broken slabs or ongoing drainage problems without additional repairs.
- Mudjacking costs $3–$6 per square foot in 2026; polyjacking costs $5–$10 per square foot.
- Mudjacking holes are 1–2 inches wide; polyjacking holes are 5/8 inch or smaller.
- Mudjacking slurry weighs about 100 lbs per cubic foot; polyurethane foam weighs 2–4 lbs per cubic foot.
- Most walkway jobs take 2–4 hours, and walk-on access returns in 24–48 hours.
- Slabjacking reliably lifts concrete 1–3 inches; polyjacking handles lifts up to 4 inches.
A mudjacking crew quoted my neighbor $1,900. The foam crew did it for $700 in two hours. The slabjacking process explained in most guides sounds simple, but the real result depends on slab thickness, drainage, and whether the concrete is still structurally sound.
I watched three crews work in my neighborhood over five years. One walked away after checking the slab thickness. Another doubled the quote after drilling started. The third completed a clean repair that has held through two freeze-thaw cycles. The difference was not the method alone; it was the diagnosis before any drilling began.
What slabjacking actually does to your concrete
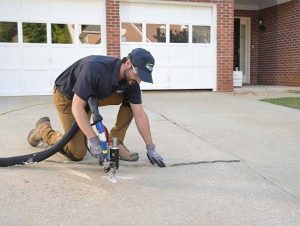
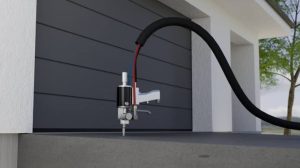
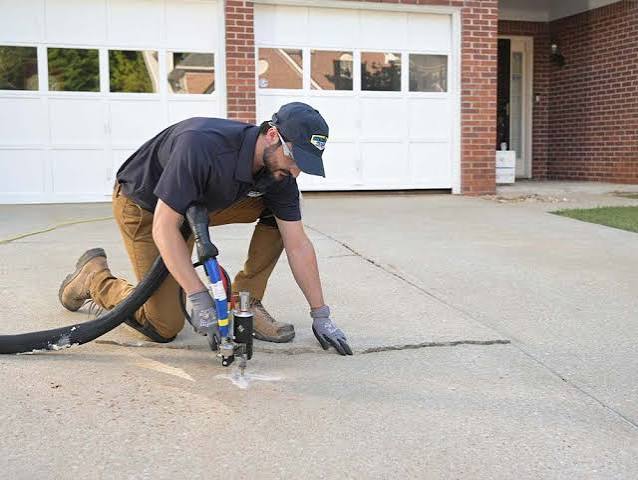
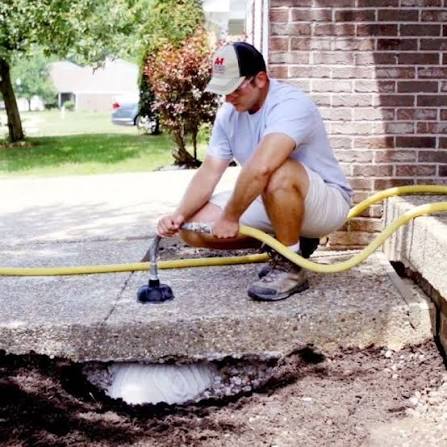
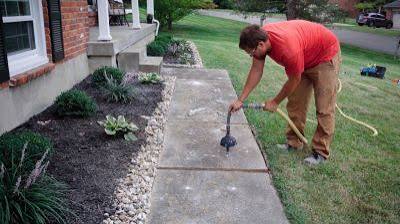
Slabjacking fills the void beneath sunken concrete with a cement-based slurry and pushes the slab back up. The process starts when a crew drills 1- to 2-inch holes through the slab, inserts a pump nozzle, and forces a mixture of water, soil, cement, and sand into the empty space below.
As the slurry fills the void, hydraulic pressure lifts the concrete. The crew watches the level in real time with a string line or laser level and stops when the slab sits flush with the surrounding surface. Afterward, the holes are patched with a color-matched cement mixture, and the patches usually blend in within a few weeks.
Slabjacking does not fix why the slab sank. It only fills the space that formed under it. If water washed soil away, that process can continue unless drainage is corrected. That is why a good contractor checks the cause before quoting the job.
If your concrete is intact, sits lower than it should, and drains reasonably well, slabjacking is usually the right fix. If the slab is broken into pieces or water pools against it, the answer changes.
How long does slabjacking actually take for a walkway?
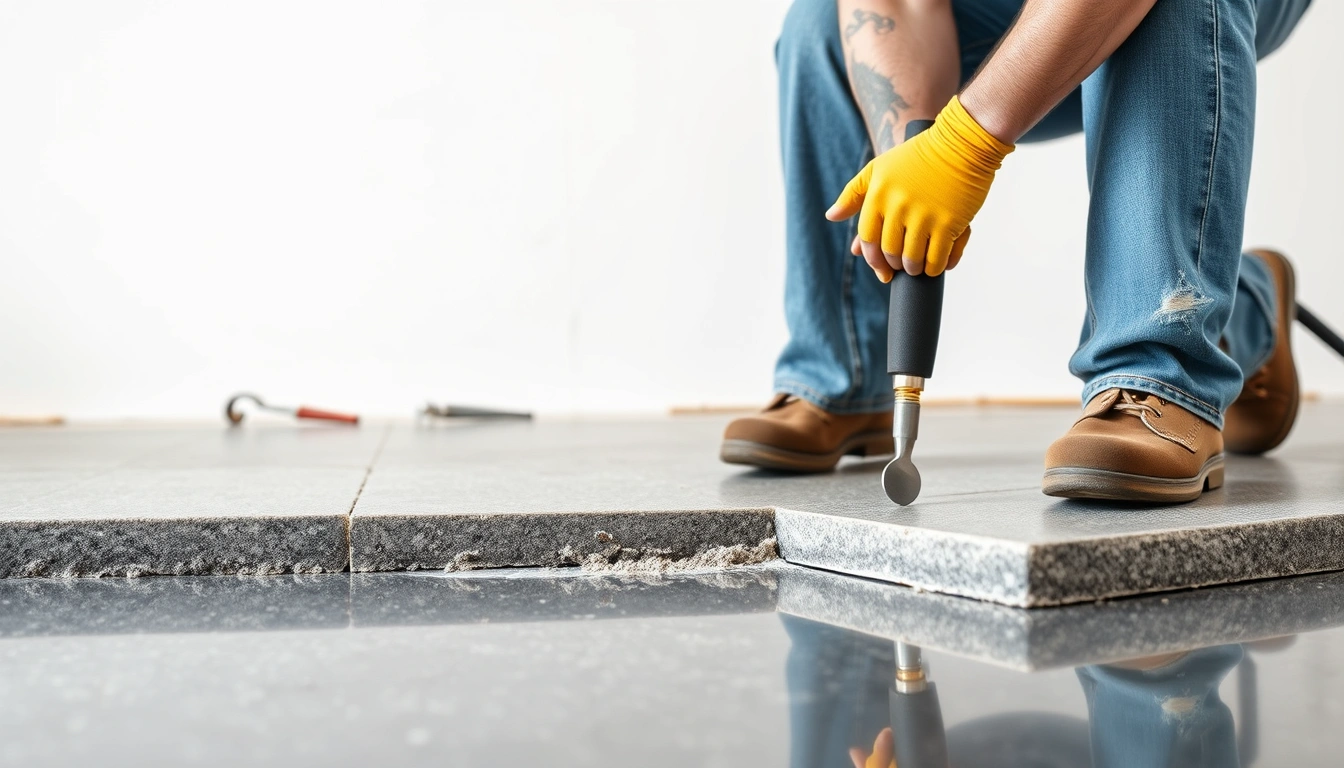
Most residential walkway jobs take 2 to 4 hours from the first drill hole to the final patch. Walk-on access usually returns within 24 to 48 hours. The actual pumping stage often takes only 30 to 90 minutes for a standard 40- to 60-square-foot walkway.
The timeline usually looks like this:
- Assessment and setup (30–45 minutes): The crew inspects the slab, marks low spots, chooses drill locations, and positions the pump truck or trailer.
- Drilling (15–30 minutes): They bore holes through the slab at marked points. A typical walkway gets 4 to 8 holes, depending on size and settlement.
- Pumping and lifting (30–90 minutes): Slurry goes in while the crew watches the slab rise and adjusts pressure at each point. Fast lifting can crack the slab.
- Leveling verification (15–20 minutes): The crew checks the slab against nearby surfaces with a long level or string line.
- Patching and cleanup (20–30 minutes): Holes get filled, residue gets cleaned, and the crew explains the next 48 hours.
The wait time surprises many homeowners. Most mudjacking slurry manufacturers recommend 24 hours before foot traffic and 72 hours before driving. Polyjacking foam cures much faster, often in 15 minutes, which helps explain the higher price.
Is slabjacking worth it in 2026? A real cost breakdown
Slabjacking costs $3 to $6 per square foot in 2026. That makes it roughly 50 to 70 percent cheaper than tearing out and replacing the same area. A typical 50-square-foot walkway runs $150 to $300 for mudjacking and $250 to $500 for polyjacking.
The per-square-foot price does not tell the full story. These factors drive the total:
- Access difficulty: Jobs where the pump truck parks within 50 feet stay cheaper. Rear-yard work with extra hose runs can add $100 to $200.
- Number of injection points: More holes take more time. A walkway with four settled sections costs more than one that sank evenly.
- Material choice: Mudjacking uses cement, soil, and water. Polyurethane foam is a manufactured product and costs more.
- Regional labor rates: The same job costs less in Dallas than in Boston. Labor makes up 60 to 70 percent of the invoice.
For a fuller breakdown of walkway leveling cost per square foot across methods, the totals shift by region, but the comparison between leveling and replacement stays consistent.
“A concrete walkway replacement runs $8 to $15 per square foot in most markets as of 2026, while mudjacking stays in the $3 to $6 range. The math favors leveling unless the slab is structurally compromised.”
If your slab is solid, with no major cracks and no independent movement, leveling is usually worth it financially. If a company quotes more than $8 per square foot for mudjacking, the access may be poor or the estimate may be padded.
Which leveling method matches your situation?
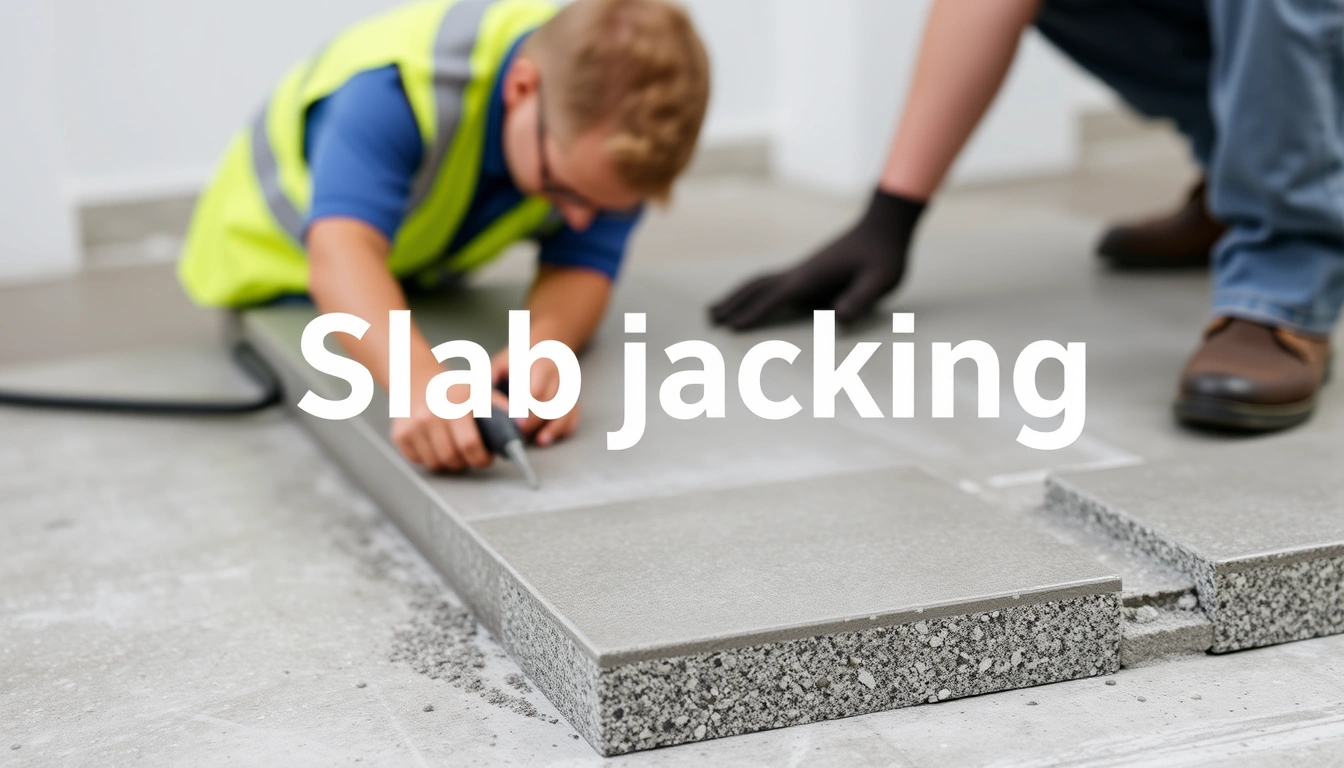
The right method depends on how far the slab sank, whether it is intact, and what sits underneath it. Use the slab’s drop, the crack pattern, and the soil condition to decide which repair makes sense.
Here is the decision framework that usually works:
| Your situation | Best path | Why other options fail |
|---|---|---|
| Sinking under 2 inches, intact slab | Mudjacking | Replacement costs 3x more for the same result |
| Sinking 2–4 inches, intact slab | Polyjacking (foam) | Mudjacking slurry is too heavy for large lifts and can compress under its own weight |
| Cracked slab, pieces shifting | Partial or full replacement | Neither jacking method can lock broken pieces back together |
| Poor drainage causing settlement | Fix drainage first, then level | Leveling without fixing water issues can mean another job in 1–2 years |
| Settling over 4 inches | Full replacement | Neither method reliably lifts beyond 4 inches without risking slab failure |
| Older slab (pre-1980s) with minor settling | Mudjacking (gentler lift) | Polyjacking pressure can crack thinner, older slabs |
For a deeper look at mudjacking pros and cons compared to foam methods, the trade-offs come down to weight, lift height, and expected repair life.
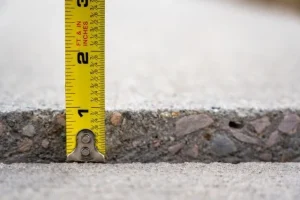
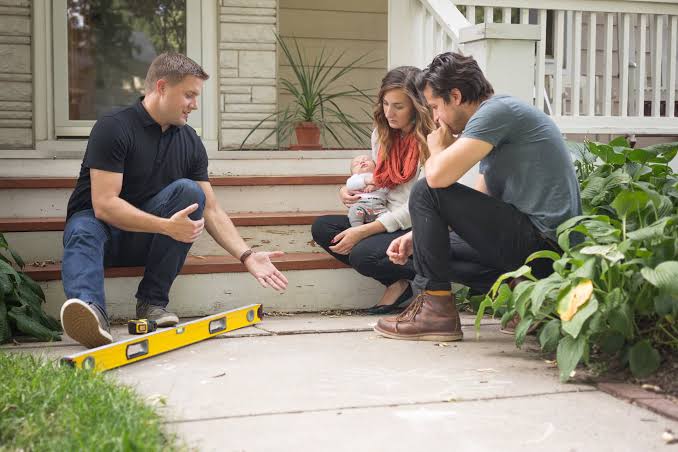
The easiest diagnosis is also the most useful. Place a straight edge, such as a 4-foot level, across the sunken slab and the adjacent surface, then measure the gap with a tape measure. Under 2 inches, 2 to 4 inches, or over 4 inches tells you which row applies.
What changes if your slab is cracking or shifting?
A cracked slab changes the repair strategy completely. When concrete breaks into separate pieces that move independently, slurry or foam can lift each piece differently and make the damage worse.
Use these guidelines to judge the damage:
- Hairline cracks (under 1/8 inch, slab still flat): Usually cosmetic. Slabjacking works fine, and the cracks should not grow.
- Cracks wider than 1/4 inch with visible height difference: The slab has structural cracks. Leveling may look right at first, but the movement often continues.
- Cracks with pieces that rock when stepped on: The sub-base is gone. Neither jacking method fixes this. You need replacement or soil stabilization through polyurethane injection.
- Cracks that follow the rebar pattern: The slab was under-reinforced. This is common on older walkways poured before the 1990s. Replacement with reinforced concrete is the lasting fix.
Walkway leveling works when the slab is still one solid piece that simply moved. Once it breaks apart, the problem is no longer a simple lift.
What does a good slabjacking crew actually do?
A reliable crew follows a clear sequence. Watching for these steps helps you separate professionals from a team with only a pump and a truck.
- Pre-work inspection (15–30 minutes): They inspect cracks, test for voids by tapping, and check drainage. A crew that starts drilling within five minutes has not diagnosed the job.
- Marking injection points: They place holes based on slab low spots and thickness, not a random grid.
- Drilling to the right depth: They drill through the slab and a few inches into the fill below. Too shallow sends slurry sideways; too deep wastes material.
- Controlled pumping with monitoring: One person pumps while another watches the slab rise. Lift should be gradual, about 1/4 inch per minute.
- Verification against adjacent surfaces: They check the walkway’s intended grade, not just whether it moved upward.
- Clean patching: Holes get filled with cement mixture, not dirt. The patch should be smooth and slightly below the surface.
The best time of year for concrete leveling is late spring through early fall, when the ground is not frozen and the slurry cures properly. Under OSHA’s respirable crystalline silica standard (29 CFR 1926.1153), drilling concrete requires dust control. A reputable crew will use water suppression or vacuum systems.
When does the standard advice break down?
Most slabjacking advice assumes an intact slab, a clear settlement cause, and easy access. These six situations need a different approach.
- Slab sits on fill dirt that was never compacted: New construction sometimes uses loosely backfilled soil under walkways. The fill compresses over 2–5 years. Slabjacking fills the current void, but the fill may keep settling. Polyurethane foam or a likely touch-up within 3 years is usually the realistic choice.
- Tree roots are lifting one side while the other sinks: Root lift is the opposite of settlement. Slabjacking will not fix it. You need to cut the root, which can hurt the tree, or remove and replace the slab with a root barrier.
- The walkway was poured over an old utility trench: Fill over utilities settles differently from undisturbed soil. Slabjacking may work at first, but the trench line often reappears within a year. Soil compaction grouting may be the better first step.
- Freeze-thaw cycles are the primary cause: Water gets under the slab, freezes, lifts it, and thaws into a void. Slabjacking fills the void, but the problem repeats if water keeps entering. Seal the edges and improve drainage before leveling.
- You have multiple slabs at different heights: Each section needs its own lift. An inexperienced crew may try to pump them all the same amount. Insist on measuring and lifting each section individually.
- The slab was never reinforced with rebar or wire mesh: Older walkways were sometimes poured as plain concrete. Mudjacking pressure can crack them. Polyjacking is safer because it uses lower pressure, but neither method is guaranteed on unreinforced slabs over 30 years old.
I once leveled a walkway before fixing the drainage problem that caused the sinking. Eighteen months later, it had settled again by about an inch. The $280 repair was only temporary. After adding a French drain along the foundation, the re-leveling has held for three years.
The Portland Cement Association’s guidance on concrete repair makes the same point: fix the root cause before or during the repair if you want a lasting result.
- Slabjacking pumps cement slurry through drilled holes to lift sunken concrete, and it costs $3–$6 per square foot in 2026.
- The method works best on intact slabs that sank 1–3 inches; over 2 inches, polyjacking is usually the better choice.
- Measure the offset between the sunken slab and the adjacent surface with a straight edge. That single number often determines the repair path.
- Fix drainage before or during leveling, or the slab may sink again within 1–2 years.
Common questions about slabjacking process explained
How long does slabjacking last compared to polyjacking?
Mudjacking usually lasts 5 to 10 years if the drainage problem is fixed. Polyjacking foam can last 15 to 20 years because it does not compress or decompose under the slab. It is also waterproof, so it does not absorb moisture the way cement slurry can.
Can I slabjack a walkway that has been sinking for 10 years?
Yes, if the slab is still structurally sound. A decade of settlement does not rule out slabjacking because the void under the slab still exists. The key is confirming that the slab has not cracked into separate pieces.
How much does slabjacking cost for a typical front walkway?
A standard 40- to 60-square-foot front walkway costs $150 to $300 for mudjacking and $250 to $500 for polyjacking in 2026. The price depends on access, the number of holes, and your region.
Is slabjacking safe near underground utilities or pipes?
Slabjacking is generally safe near utilities because the drilling depth is shallow. Still, call 811 before any concrete drilling so underground utilities can be marked.
What is the difference between slabjacking and mudjacking?
They refer to the same basic process. Slabjacking is the general term for lifting sunken concrete by injecting material underneath. Mudjacking specifically refers to cement-based slurry. Polyjacking uses expanding polyurethane foam instead.
Can I do slabjacking myself as a DIY project?
DIY slabjacking kits exist and cost $50 to $150, but they only suit very small slabs under 10 square feet with less than 1 inch of settlement. Larger or deeper jobs need professional equipment and experience.
The bottom line
For most sunken walkways under 2 inches of settlement with an intact slab, mudjacking is the most cost-effective fix in 2026. Over 2 inches, polyjacking usually handles the lift better. Over 4 inches, or when the slab is cracked into separate pieces, replacement is the honest answer.
Start this week by measuring the offset between your sunken slab and the adjacent surface with a straight edge. That number tells you which path to take and gives any contractor a clear starting point for a quote. Slabjacking process explained in one action: measure first, then decide.
For the full comparison across all three approaches, see our guide to Mudjacking vs Polyjacking vs Replacement: Choosing the Right Method.
See also: mudjacking pros and cons
See also: walkway leveling
See also: walkway leveling cost per square foot
See also: walkway leveling
See also: walkway leveling cost per square foot
See also: best time of year for concrete leveling