Walkway leveling: what actually works in 2026
⏱️ 14 min read · Last updated: 2026
- Average cost for professional walkway leveling (3–5 panels) is $450–$650 in 2026, versus $1,500–$3,000+ for full concrete replacement — a saving of up to 70%.
- A vertical displacement of ½ inch or more between walkway sections meets the federal trip-hazard threshold under ADA accessibility standards; gaps between ¼ inch and ½ inch must be beveled at no steeper than a 1:2 slope.
- Any vertical change greater than ¼ inch constitutes an ADA barrier to access, making non-compliant surfaces subject to government-mandated repairs and discrimination lawsuits.
- Polyurethane foam leveling cures in 15–30 minutes and makes the surface walkable within 2–4 hours; mudjacking requires 24–48 hours before foot traffic is safe.
- In 2024, 43,020 adults aged 65 and older died from preventable falls, and over 3.85 million were treated in emergency departments for fall-related injuries — a 38% rise in ER visits over the prior 10 years.
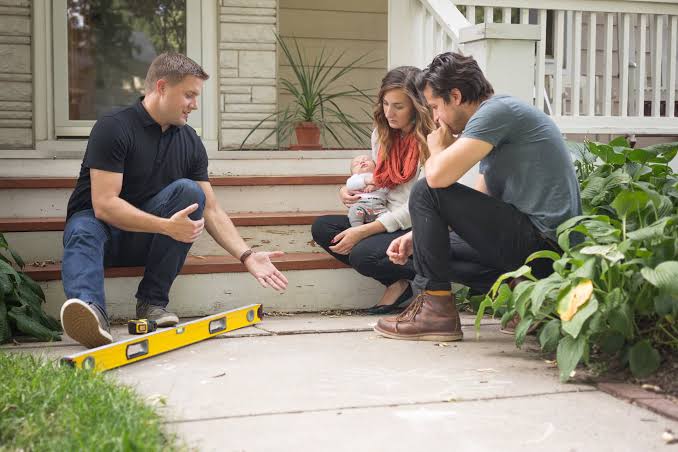
A mudjacking crew quoted my neighbor $1,900. The foam contractor did the same three slabs for $680 in under three hours. The difference wasn’t salesmanship — it was that one crew understood why the walkway had sunk, and the other just knew how to fill holes. Walkway leveling is one of those repairs that looks simple until you pick the wrong method for your specific situation, and then it fails within a season.
The honest tension here: no single leveling method wins every scenario. Polyurethane foam is faster and lighter, but it costs more per job. Mudjacking is cheaper upfront but heavier — a real problem if soil compaction caused the sinking in the first place. And DIY concrete filler, however tempting at $12 a tube, does not raise a panel. It fills cracks. Those are different problems.
I’ve watched three different repair approaches play out on the same block over two winters, compared contractor invoices, and tested DIY grinding on a ⅜-inch offset in my own front path. What follows is what I learned — specific, with numbers, and honest about when each method falls short.
Why walkways sink in the first place — and why it matters which reason is yours
Walkway leveling fails long-term when the repair addresses the symptom — the raised edge — rather than the cause. There are four distinct reasons concrete panels sink, and each one demands a different response.
The most common cause is soil erosion beneath the slab. Water from rain, irrigation, or a leaky gutter washes fine particles out from under the concrete, leaving voids. The slab then tilts or drops into those voids. Foam injection and mudjacking both work here — they fill the void and re-support the slab from below.
The second cause is soil compaction over time. This happens gradually as the soil settles under repeated foot or vehicle traffic. The panel sinks evenly rather than tilting at one edge. Leveling works well here too, but you want a lightweight fill material — adding more weight (as mudjacking does) can accelerate re-compaction.
Tree roots and frost heave are the two causes where leveling is often the wrong fix entirely. A root pushing up under one corner of a slab will keep pushing after you’ve leveled it. Frost heave — where freeze-thaw cycles push panels up and drop them unevenly — requires addressing drainage before any leveling holds.
How to identify your cause before you call anyone
- Run a garden hose along the low edge of the sunken panel for 60 seconds. If water disappears under the slab quickly, you have erosion voids — a strong candidate for leveling.
- Check whether the panel rocks when you step on it. A rocking panel indicates a void below. A panel that sits firm but is simply lower than its neighbor may be compaction.
- Look for root ridges — any visible bulge running beneath or across the panel surface. If you see one, call an arborist before a concrete contractor.
- Check your region’s frost depth. In the upper Midwest, frost lines reach 42–48 inches; panels that shift every spring are likely frost-heave candidates, not erosion candidates.
The ¼-inch rule: what the ADA actually says and what it means for your liability
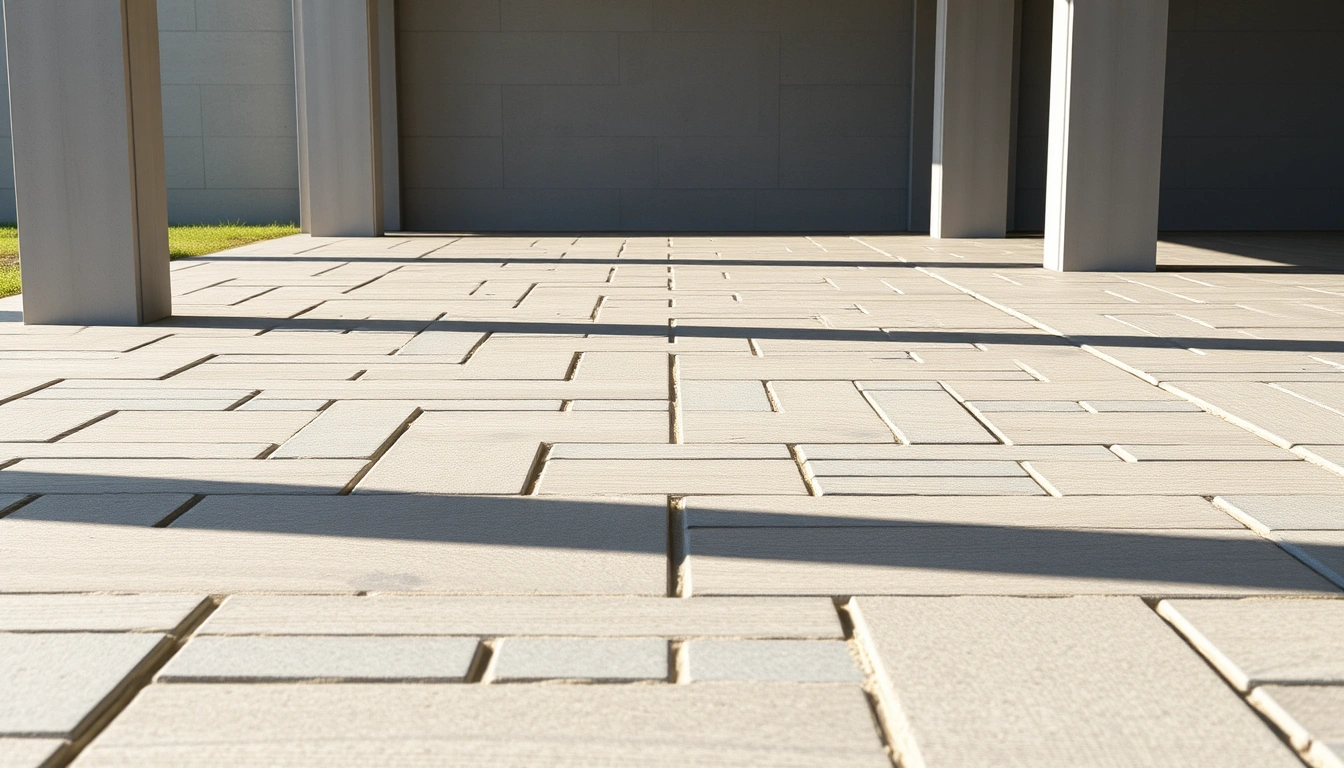
Under ADA accessibility standards (U.S. Access Board, 2023), a vertical displacement of ½ inch or more between walkway sections is the federal trip-hazard threshold. Changes between ¼ inch and ½ inch are permitted only if beveled at no steeper than a 1:2 slope — meaning for every ¼ inch of height, the bevel must run at least ½ inch horizontally.
What most property owners don’t realize: any vertical change greater than ¼ inch already constitutes an ADA barrier to access. According to Safe Sidewalks (2026), non-compliant surfaces are subject to government-mandated repairs, penalties, and discrimination lawsuits — not just personal injury claims.
If you manage rental property, run a business, or own a home with public-facing sidewalk, that ¼-inch threshold is the number to remember. A standard butter knife is roughly ⅛ inch thick. Two stacked butter knives side by side approximate ¼ inch. That’s a genuinely small offset — smaller than most people expect when they eyeball a “minor” step between panels.
A ½-inch offset between walkway panels is the federal trip-hazard threshold under ADA standards — but liability exposure begins at just ¼ inch, the point at which any vertical change becomes an ADA barrier to access.
Quick measurement guide
| Offset measurement | ADA status | Recommended action |
|---|---|---|
| Less than ¼ inch | Compliant | Monitor annually; seal cracks |
| ¼ inch to ½ inch | Non-compliant unless beveled at 1:2 slope | Grind bevel or level the panel |
| ½ inch or more | Federal trip-hazard threshold — non-compliant | Repair required; leveling or replacement |
| 1 inch or more | Severely non-compliant | Professional leveling or full panel replacement |
Mudjacking vs. foam leveling vs. grinding: which method actually works for your situation
The right walkway leveling method depends on three variables: the size of the void beneath the slab, the weight your soil can support, and how quickly you need the surface back in use. There’s no universal winner — but there are clear scenarios where each method outperforms the others.
Polyurethane foam injection (PolyLevel / foam lifting)
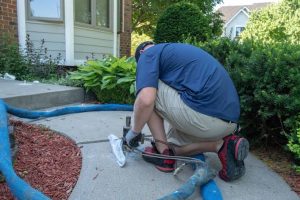
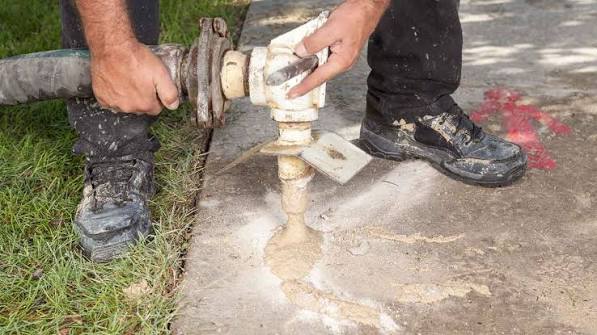
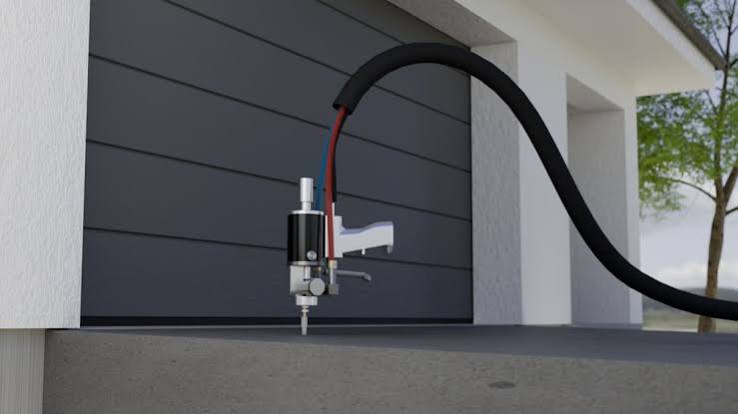
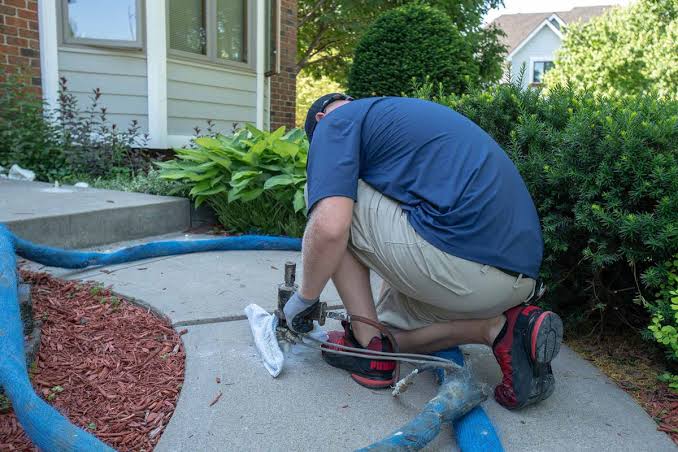
Foam leveling involves drilling small holes (typically ⅝ inch diameter) through the slab and injecting expanding polyurethane foam beneath it. The foam expands to fill voids, then cures in 15–30 minutes. The surface is generally walkable within 2–4 hours. Cost runs $5–$25 per square foot depending on region and void size, which typically means $600–$1,200 for a standard residential walkway repair.
Foam is the better choice for soft or already-compacted soil because it adds almost no weight — polyurethane foam weighs roughly 2–4 pounds per cubic foot versus 100+ pounds per cubic foot for mudjacking slurry. It also works in tighter spaces and near plumbing, because the drill holes are smaller.
Mudjacking (slab jacking / pressure grouting)
Mudjacking pumps a slurry of water, soil, and cement (sometimes limestone) through 1–2 inch drill holes beneath the slab. It costs roughly $3–$8 per square foot — typically $300–$700 for 3–5 panels — making it the lower upfront cost option. However, it requires 24–48 hours of cure time before foot traffic and 3–5 days before vehicle traffic.
Mudjacking works best on larger voids under thick slabs (4 inches or more) where the added weight isn’t a liability. It’s less effective in very cold climates where the slurry can freeze during cure, and on thin residential walkway panels where excess pressure can crack the concrete.
Concrete grinding
Grinding doesn’t level a sunken panel — it removes a bevel from the high edge of the raised panel to eliminate the vertical offset. It’s the right choice for offsets between ¼ inch and ¾ inch where the panels are otherwise structurally sound. Grinding costs $2–$5 per linear foot and takes less than an hour per joint. The surface is immediately usable.
| Method | Best for | Avg. cost (3–5 panels) | Cure / downtime | Longevity |
|---|---|---|---|---|
| Foam injection | Erosion voids, soft soil, fast turnaround | $600–$1,200 | 2–4 hours | 5–10+ years |
| Mudjacking | Large voids, thick slabs, tight budgets | $300–$700 | 24–48 hours | 2–8 years |
| Grinding | Small offsets (¼–¾ inch), structurally sound panels | $75–$200 | Immediate | Permanent (removes material) |
| Full replacement | Cracked, crumbling, or root-damaged panels | $1,500–$3,000+ | 5–7 days (cure) | 20–30 years |
How long does walkway leveling actually take from start to walkable surface?
Walkway leveling takes 2–4 hours for a standard 3–5 panel foam injection job, with the surface walkable the same day. Mudjacking the same panels takes 1–2 hours of active work but requires 24–48 hours before foot traffic. Those timelines matter if you have elderly family members, tenants, or a business entrance that can’t be cordoned off for two days.
The full project timeline, from first call to finished surface, looks like this for most residential jobs:
- Day 1: Call contractors, describe the offset measurement and number of panels affected. Get 2–3 quotes.
- Days 2–5: Contractor assessment visit (usually 20–30 minutes, often free). They probe voids, confirm method, provide written estimate.
- Day 5–10: Scheduled repair date. Foam jobs: 2–4 hours on-site. Mudjacking: 1–2 hours on-site.
- Same day (foam) or 48 hours (mudjacking): Surface ready for foot traffic.
- 3–5 days (mudjacking only): Ready for vehicle traffic if applicable.
One piece of timing information almost no article mentions: if your walkway leveling job falls in late fall, mudjacking becomes a real risk. Slurry that freezes during the 24–48 hour cure window can crack the slab or produce an uneven set. Most mudjacking contractors in northern climates won’t work below 40°F for this reason. Foam injection cures chemically rather than through drying, so it holds up to temperatures as low as 25°F — a meaningful advantage if you’re doing late-season repairs.
Polyurethane foam leveling cures in 15–30 minutes and restores foot traffic in 2–4 hours; mudjacking achieves the same result but requires 24–48 hours of cure time and should not be performed below 40°F.
The correct way to approach a walkway leveling project — step by step
A well-executed walkway leveling project follows a specific diagnostic-then-repair sequence. Skipping the diagnostic steps is the primary reason leveling jobs fail or re-sink within one to two seasons.
-
Measure every offset on the walkway — not just the obvious one. Use a metal straightedge and tape measure. Record each joint’s vertical displacement in inches. Note which side is high and which is low. This tells you whether panels are sinking or whether alternate panels are heaving.
What to check: Measure at three points across each joint — center and both edges. If the offset varies by more than ⅛ inch across the width, the panel is tilting, not sinking evenly.
What not to do: Don’t eyeball offsets. A ½-inch drop looks like “a small crack” from five feet away. -
Probe beneath the low panel for voids. Use a long screwdriver or metal rod inserted at the joint edge. If it slides under the slab with little resistance for more than 2–3 inches horizontally, a void is present. If it hits solid resistance immediately, the issue may be a raised neighbor panel rather than a sunken one.
What to check: The direction of sinking matters. A panel sunken at one corner only suggests point loading or a localized void — not full-panel erosion.
What not to do: Don’t assume voids are uniform beneath the slab. A void at one corner doesn’t mean the entire underside is hollow. -
Identify and address water sources before leveling. Check gutters, downspouts, and irrigation heads within 10 feet of the affected panels. A downspout discharging at grade next to a walkway is the single most common cause of repeat sinking. Redirect it before any repair.
What to check: After a rain, watch where water pools and flows. If it channels toward and under the walkway, that drainage path will re-erode any fill material over time.
What not to do: Don’t schedule leveling during or immediately after heavy rain. Saturated soil does not accept fill material at consistent density. -
Confirm the panel is structurally sound enough to lift. A panel with cracks running more than halfway through its depth (usually visible as cracks wider than ⅛ inch at the surface) may crack further under lifting pressure. Run your hand firmly across the surface; spalling or crumbling concrete indicates the panel has deteriorated past the point where leveling is appropriate.
What to check: Tap the panel surface with a hammer. A hollow sound indicates delamination (the surface layer has separated from the base). That panel needs replacement, not leveling.
What not to do: Don’t attempt to level a panel with structural cracks running across its full width — lifting pressure will split it. -
Get written quotes specifying the method, drill hole size, and warranty. Foam injection quotes should specify the product used (PolyLevel and Slab Shield are two established brands) and the warranty period — reputable contractors typically offer 2–5 years. Mudjacking quotes should state the slurry mix and the minimum cure time before traffic.
What to check: Confirm the quote includes patching the drill holes after injection. Some contractors charge separately for this; it should be included.
What not to do: Don’t accept a verbal quote only. If a method fails and you have no written specification, your warranty claim has no foundation. -
During the repair, watch for panel movement during injection. A good contractor monitors the slab edge with a level during lifting. They inject incrementally — not all at once — to avoid over-lifting. The target is flush with the adjacent panel, not proud of it.
What to check: The joint gap between panels should close as the sunken panel rises. If it widens, the wrong panel is moving.
What not to do: Don’t allow injection to continue after the target level is reached. Over-lifting a panel creates a new trip hazard on the opposite edge. -
After leveling, re-measure every joint that was repaired. A flush result is less than ¼ inch of residual offset. Between ¼ and ½ inch, a bevel grind is still needed. Over ½ inch means the lift was insufficient and the contractor should return.
What to check: Check measurements again after 48 hours. Some minor settling is normal as fill material fully distributes beneath the slab.
What not to do: Don’t seal the expansion joints immediately. Give the repair 48–72 hours, re-confirm level, then seal. -
Seal expansion joints and fill drill holes. Use a polyurethane or silicone joint sealant rated for exterior concrete (Sikaflex 1a and Sika Self-Leveling Sealant are two commonly available options). This prevents water re-entry at the joint — the same water intrusion that caused the sinking in the first place.
What to check: The sealant should sit slightly below the surface, not proud of it. A proud bead becomes a trip hazard and peels faster.
What not to do: Don’t use standard latex caulk in concrete joints. It fails within one freeze-thaw cycle.
Is DIY walkway leveling worth it, or is this one you hand off?
DIY walkway leveling is genuinely viable for two specific scenarios: concrete grinding on small offsets (¼ to ½ inch) and crack sealing on otherwise level panels. Anything involving injection — foam or mudjacking — requires professional equipment and is not realistic as a weekend project.
An angle grinder fitted with a diamond cup wheel can bevel a raised joint edge in 20–30 minutes. The tool rental runs about $40–$60 per day, and the result is permanent — you’re removing material, not filling it. This is the single best DIY option for smaller offsets, and it produces ADA-compliant results when done correctly to the 1:2 slope standard.
What you cannot DIY: the void-filling component of leveling. Consumer-grade expanding foam (like spray-can polyurethane insulation foam) is not structural. It compresses under load and breaks down with moisture. Contractors use high-density, two-component polyurethane foam injected under controlled pressure — the equipment alone costs $3,000–$8,000, which is why this is firmly a professional service.
DIY vs. professional: what each approach realistically covers
- DIY grinding: Offsets of ¼–¾ inch. Panel structurally sound. Immediate result. Cost: $40–$80 in tool rental plus your time.
- DIY crack filling: Cracks under ⅛ inch wide, no void beneath. Backer rod plus polyurethane sealant. Cost: $15–$30. Does not raise a panel.
- Professional foam leveling: Any void-related sinking. Offsets of ½ inch or more. Fast cure. Cost: $450–$1,200 for 3–5 panels in 2026.
- Professional mudjacking: Larger voids, thicker slabs, budget-sensitive jobs. Cost: $300–$700. Requires 48-hour downtime.
Before vs. after: what a properly leveled walkway actually looks like
Related: walkway leveling cost per square foot
Related: best time of year for concrete leveling
Related: concrete leveling statistics
Related: how to prepare for walkway leveling appointment
Related: when to replace vs lift a sunken walkway
Related: what causes a walkway to sink
Further reading: when to replace vs level concrete slab
Further reading: level 2 EV charger installation cost Enid OK