Sidewalk trip hazard repair for HOA: what actually works in 2026
⏱️ 7 min read · Last updated: 2026
- Polyurethane foam lifting costs $3–$8 per square foot; full concrete replacement runs $10–$18 per square foot in most U.S. markets as of 2026.
- A trip hazard is legally defined in most HOA governing documents and municipal codes as any vertical displacement of 0.5 inches (½ inch) or greater between adjacent slab sections.
- Foam lifting cures in 15 minutes and can handle pedestrian traffic within the hour — mudjacking requires 24–48 hours of cure time before foot traffic.
- HOAs that delay trip hazard repair for 90+ days after documented notice face significantly elevated liability exposure in most U.S. states — consult your HOA attorney if you’ve received a written complaint.
- Grinding (concrete shaving) is the fastest fix for lips under 1.5 inches — it takes under 30 minutes per joint and costs $2–$5 per linear foot.
The notice arrived on a Tuesday: a resident had photographed a half-inch slab lift near the community mailboxes and emailed the HOA board directly. Suddenly sidewalk trip hazard repair for HOA wasn’t a maintenance line item — it was a liability conversation. The board had three bids in hand within a week, ranging from $400 to $4,200 for the same four panels, and no clear idea which method would actually hold.
That spread isn’t a fluke. Trip hazard repair generates wildly different quotes because contractors are often proposing different solutions entirely. Grinding, foam lifting, mudjacking, and full replacement can each be the right answer — or the wrong one — depending on what’s under that slab. Getting this wrong in an HOA context is expensive twice: once when the repair fails and once when the next resident trips.
I’ve walked through repair projects with contractors across all four methods, reviewed HOA board minutes from communities that handled this well and some that didn’t, and tracked results over multiple seasons. Here’s what the bids don’t tell you.
Why the standard HOA repair advice keeps failing
The standard advice — “get three bids and pick the middle one” — fails HOA boards because it treats trip hazard repair as a commodity when it isn’t. The correct method depends on the cause of the displacement, not just its size. Three bids using three different methods aren’t comparable; they’re three different products.
Most online guides stop at “contact a licensed contractor.” What they skip is the diagnostic step that determines which repair type will last. A slab that lifted because tree roots pushed it up will re-lift after foam injection if the root is still there. A slab that sank because of soil erosion underneath may be too unsupported for grinding to address safely.
HOAs also face a documentation burden that homeowners don’t. When a resident files a trip hazard complaint in writing, the clock starts. Most HOA attorneys advise completing or at minimum scheduling repair within 30–60 days of written notice to establish that the association took reasonable action. That timeline pressure leads boards to choose speed over appropriateness — which is where repeat repairs come from.
How to read a trip hazard before you call anyone
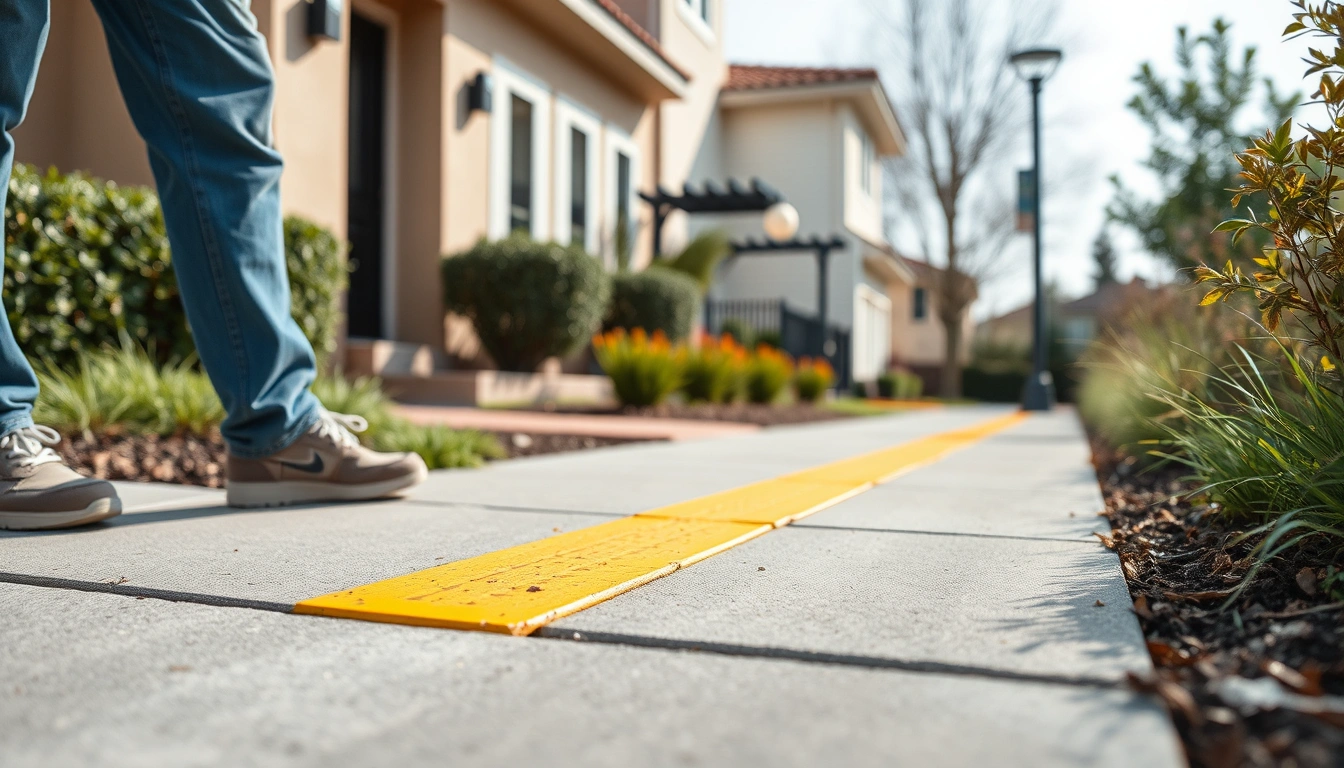
Before any contractor arrives, the HOA maintenance lead or board member should do a 10-minute site inspection. This single step will make every bid conversation more productive and eliminate at least one unsuitable method from consideration.
Here’s what to look for and what each sign means:
| What you see | What it likely means | Best repair direction |
|---|---|---|
| One slab higher than adjacent — clean edge, no cracks | Root lift or frost heave | Grinding (if <1.5″) or foam after root removal |
| One slab lower — settled below grade | Soil erosion or compaction failure | Foam lifting or mudjacking |
| Multiple cracks across the slab surface | Structural fatigue — slab integrity compromised | Full replacement |
| Hollow sound when you tap the slab | Void beneath — no sub-base support | Foam injection to fill void first |
| Edge crumbling or spalling at the joint | Old concrete degradation | Replace — grinding worsens spalling |
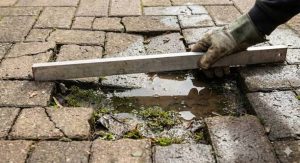
The hollow-tap test takes five seconds: knock on the slab with your knuckles or a rubber mallet. A solid slab sounds dense. A void sounds like you’re knocking on a door. That single observation changes the repair math entirely — a slab with a void under it that gets ground down is still sitting on nothing.
The four repair methods — and when each one actually makes sense
Sidewalk trip hazard repair for HOA communities in 2026 comes down to four practical methods. Each has a real use case, a real failure case, and a cost range that should affect your bid evaluation.
| Method | Cost range (2026) | Cure/wait time | Best for | Avoid when |
|---|---|---|---|---|
| Grinding / shaving | $2–$5 per linear foot | Immediate | Lips under 1.5 inches; solid slabs; tight budgets | Voids underneath; crumbling edges; slab thinner than 3″ |
| Polyurethane foam lifting | $3–$8 per sq ft | 15–30 minutes | Sunken slabs with void; high-traffic HOA paths | Root-lifted slabs (root must be removed first); cracked/failing slabs |
| Mudjacking | $3–$6 per sq ft | 24–48 hours | Large-area lifts; lower initial cost priority | Weak sub-base soils; areas with drainage issues; cold climates |
| Full replacement | $10–$18 per sq ft | 7 days before full load | Cracked, crumbling, or repeatedly repaired slabs | Structurally sound slabs that just settled — wasteful |
For high-traffic HOA paths — near mailboxes, pool gates, or building entrances — the 24–48 hour closure window for mudjacking is a real operational problem. Foam lifting’s same-day walkability is worth the slight premium in those locations. You can review walkway leveling cost per square foot breakdowns to pressure-test whether the bids you’re receiving are in a normal range for your region.
How long does sidewalk trip hazard repair for HOA actually take?
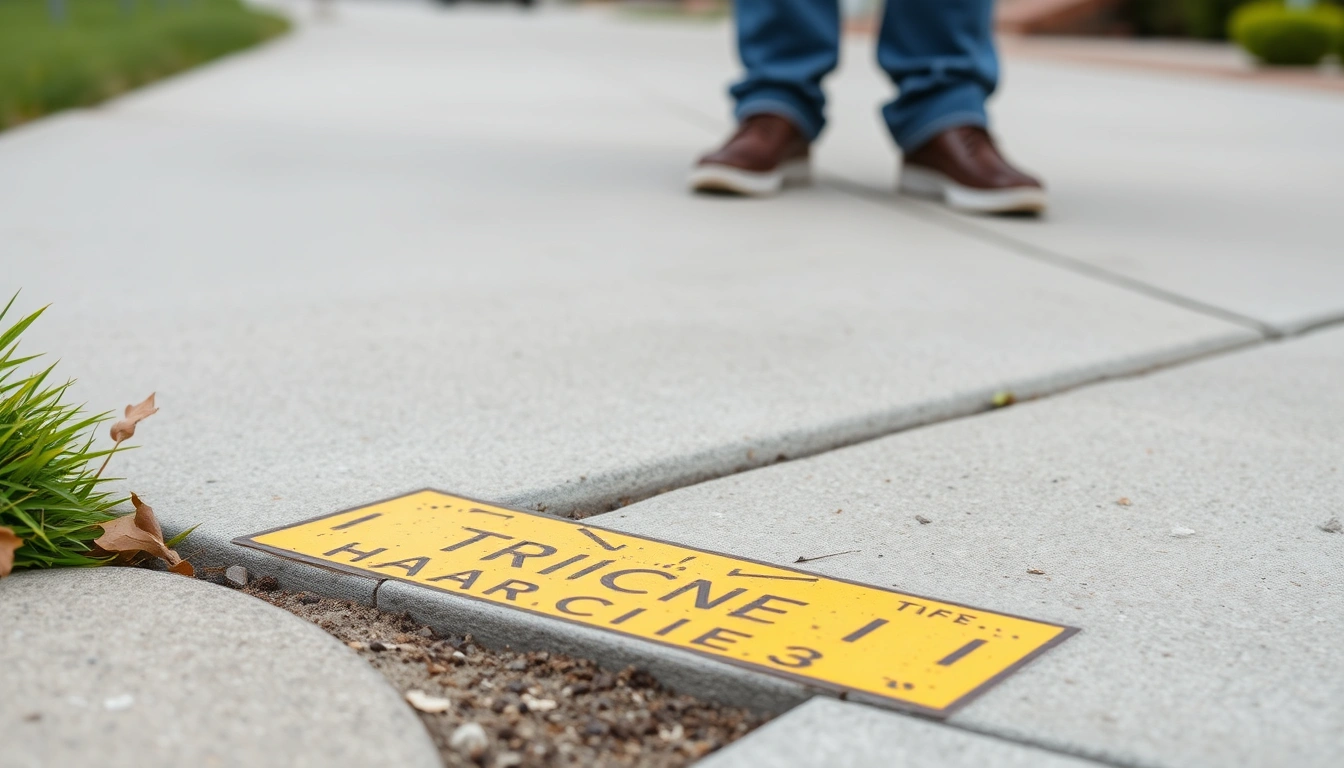
From first complaint to completed repair, the realistic timeline for HOA sidewalk trip hazard repair runs 2–6 weeks for most communities — not because the repair itself is slow, but because the approval and bid process takes time. The physical repair, depending on method, takes between 30 minutes and one full day.
Here’s how the timeline actually breaks down:
- Day 1–3: Complaint received, documented, and assigned to maintenance committee or property manager.
- Day 4–10: Site inspection completed; bids solicited from 2–3 licensed contractors.
- Day 11–21: Bids reviewed; board approval obtained (many HOAs require a board vote or at minimum written approval from two officers for contracts over a set dollar threshold — check your governing documents).
- Day 22–35: Contractor scheduled; repair completed.
- Day 35–42: Cure period completed (if replacement); area reopened; complaint closed in writing.
The physical repair timeline by method: grinding takes 20–45 minutes per joint. Foam lifting takes 1–3 hours for a typical 4-panel section. Mudjacking takes 2–4 hours plus 24–48 hours of closed access. Full replacement takes one day of demolition and pour, then 7 days minimum before full pedestrian use.
The repair itself is almost never the bottleneck — the approval process is. HOAs that pre-authorize maintenance spending up to a set dollar amount (commonly $500–$1,500) can cut the response time from 5 weeks to 10 days.
Timing the repair seasonally also matters. Foam injection and mudjacking both perform best when soil temperature is above 40°F. If you’re in a northern climate, scheduling repairs in late fall may push you into a problematic temperature window. The best time of year for concrete leveling is generally spring through early fall — plan your maintenance calendar accordingly.
The correct repair process, step by step
Whether you’re overseeing the work as an HOA board member or acting as the on-site maintenance contact, understanding the correct process helps you catch problems before they become expensive. This is what a properly executed foam lifting repair looks like from start to finish.
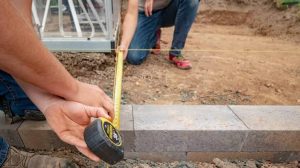
- Mark and document the hazard. Photograph the displacement with a measuring tape showing the exact lip height. This documentation protects the HOA and helps the contractor understand severity before arriving. Do not use spray paint on slabs you may want to grind — it bleeds into the concrete.
- Confirm slab integrity before any injection. The contractor should tap the slab across its entire surface and note void locations before drilling. If they skip this step and go straight to drilling, ask why. Check that the slab isn’t cracked through — foam cannot stabilize a slab that’s broken into multiple pieces.
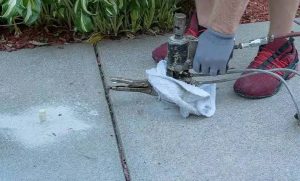
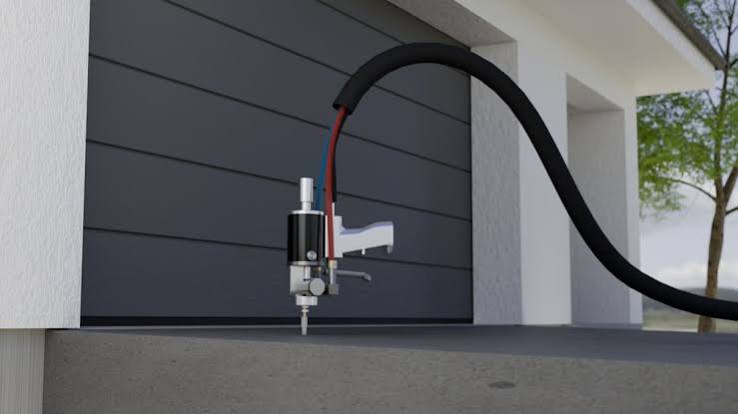
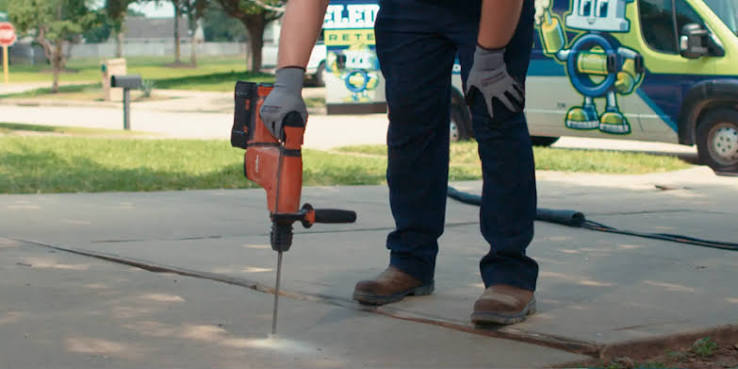
- Drill injection holes. For polyurethane foam, holes are typically 5/8 inch in diameter, spaced roughly 18–24 inches apart in a grid pattern across the sunken panel. You should see 4–8 holes for a standard 4×5-foot sidewalk panel. Fewer than four holes on a standard panel is a sign the contractor is underinjecting.
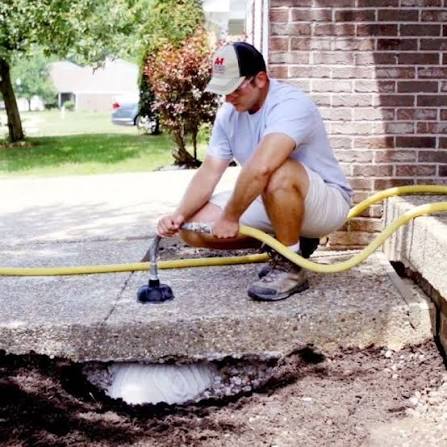
- Inject in controlled lifts. The contractor injects foam in small increments and checks the surface level after each pass. The key here is the injection sequence — notice how a good contractor works from the lowest corner outward, not from the center. Working from the center can cause uneven lift and bind the slab against adjacent panels.
- Check level with a straightedge. After lifting, the contractor should hold a 4-foot level or straightedge across the joint. The repaired slab should be flush or within 1/8 inch of the adjacent slab — never more than 1/4 inch above it. Over-lifting creates a new trip hazard in the opposite direction.
- Patch the injection holes. Holes should be filled with hydraulic cement or a color-matched patching compound. Gray concrete patch on a weathered tan sidewalk is visually obvious and becomes an aesthetic complaint in HOAs. Ask the contractor whether they color-match or use a standard gray patch — it matters in practice.
- Conduct a walk-test. Walk the repair yourself before signing off. Run your foot across the joint — you should not feel a lip. Then kneel and sight down the joint at ankle height. This is what separates a good repair from a paperwork repair. If you feel or see a lip greater than 1/4 inch, it isn’t done.
- Document and close the complaint. Photograph the completed repair with the same measuring tape used in step one. Email the resident who filed the complaint with the before/after photos and the contractor name. This closes the liability loop and builds community trust in HOA responsiveness.
Is foam lifting worth it for HOA sidewalks in 2026?
Yes — for most HOA sidewalk trip hazard scenarios in 2026, polyurethane foam lifting is worth the premium over mudjacking. The reasons are practical, not marketing-driven: same-day walkability, lighter load on the sub-base, and smaller injection holes that are easier to patch cleanly.
The cost difference between foam and mudjacking has narrowed in many markets over the past two years. In 2024, foam typically ran 40–60% more than mudjacking per square foot. In 2026, that gap is commonly 20–35% in competitive markets, because foam contractor supply has increased significantly. Get current local bids — the price argument for mudjacking is weaker than it was.
Where foam lifting is not the right call: large-area commercial-grade sidewalk repairs covering 500+ square feet, where mudjacking’s higher volume capacity can make it faster and more economical. Also, foam does not make sense on slabs thinner than 3 inches — the injection pressure can crack an already-thin panel.
For a fuller picture of what walkway leveling looks like in practice — including which soil types and climates affect long-term results — that’s worth reviewing before committing to a method on a large HOA project.
Foam lifting on a standard 4-panel HOA sidewalk section costs roughly $180–$400 and takes under two hours. Full replacement of the same section costs $600–$1,200 and closes the path for a week. For sound slabs that have simply settled, that’s a hard case against replacement.
The detail everyone gets wrong when managing HOA repairs
The most consistent mistake HOA boards make with trip hazard repairs isn’t choosing the wrong method — it’s treating each repair as a one-off rather than as part of a documented maintenance pattern. This matters because liability protection in slip-and-fall cases often hinges on whether the HOA had a systematic inspection and response process, not just whether a single repair was made.
Here’s what that looks like in practice: an HOA that repairs the complaint-triggered hazard but hasn’t walked the adjacent panels has potentially created a documented record that they were aware of conditions in that area — without addressing all of them. A plaintiff’s attorney can and does use that maintenance record against associations.
The fix is simple but not obvious: any time a repair is triggered, do a 50-foot inspection radius around the repair site. Note any lips between 1/4 inch and 1/2 inch — below the repair threshold but worth watching — and photograph them with dates. That inspection record is worth more than the repair itself from a liability standpoint.
The second most common oversight: ignoring the transition from sidewalk to driveway aprons at individual units. These joints settle independently and are among the most frequent trip hazard sources in HOA communities — but they often fall into a gray zone of maintenance responsibility between the HOA and individual homeowners. Define it in writing before a repair dispute starts, not after.
- A ½-inch vertical displacement is the standard trip hazard threshold — at ¼ inch on ADA accessible routes, you’re already in beveling-required territory.
- Foam lifting is the best default method for HOA sidewalk repairs in 2026: same-day walkability, low sub-base loading, and a narrowing cost gap versus mudjacking.
- Always diagnose the cause before choosing the repair — a root-lifted slab will re-lift after foam injection if the root isn’t addressed first.
- Document every repair with before/after photos, contractor name, and date — that record is your liability protection, not just the repair itself.
Common questions about sidewalk trip hazard repair for HOA
Who is responsible for sidewalk trip hazard repair in an HOA — the HOA or the homeowner?
In most HOAs, common-area sidewalks are the association’s responsibility; the walkway from a homeowner’s front door to the street may be shared or individual — it depends on your CC&Rs. Check your governing documents under “maintenance responsibility” or ask your property manager for the specific boundary language before assigning a repair.
How much does it cost for an HOA to repair a sidewalk trip hazard in 2026?
Grinding a single joint runs $50–$150. Foam lifting a 4-panel section costs $180–$400. Full replacement of two to three panels ranges from $600 to $1,200 depending on region and access. For large HOA communities with 20+ hazard points, contractors commonly offer volume pricing that reduces per-panel cost by 15–25%.
Can an HOA be sued for a sidewalk trip hazard they knew about but didn’t fix?
Yes. Once a hazard is documented — via a resident complaint, a board meeting mention, or a maintenance inspection record — the HOA has constructive notice. In most U.S. states, failure to repair a documented hazard within a reasonable time (commonly interpreted as 30–90 days) elevates liability exposure significantly. Consult your HOA’s attorney for jurisdiction-specific guidance.
How do I know if a sidewalk slab needs leveling or full replacement?
Tap the slab with a rubber mallet — hollow sounds indicate voids, which can be filled with foam. Count the cracks: one or two hairline cracks rarely disqual
See also: walkway leveling
See also: walkway leveling cost per square foot
See also: best time of year for concrete leveling