How to prepare for a walkway leveling appointment (2026 updated guide)
⏱️ 8 min read · Last updated: 2026
- Mudjacking appointments typically run 2–4 hours for a standard residential walkway (up to 200 sq ft); polyurethane foam jobs run 1–2 hours for the same area.
- Calling 811 (the national Dig Safe line) at least 3 business days before drilling is a legal requirement in most U.S. states — missing this step can result in job cancellation on the day.
- Slabs thinner than 3 inches have a meaningfully higher cracking risk during mudjacking; foam leveling is the safer method when thickness is uncertain.
- Leaving standing water or wet soil near the work zone the night before can delay curing and reduce the quality of the finished lift — reschedule if heavy rain is forecast within 24 hours.
- Most crews need a clear 3-foot working corridor on all sides of the walkway; parking vehicles or storing items in that corridor is the single most common cause of day-of rescheduling.
The crack ran from the garage step to the front gate — a half-inch gap that had been there since last winter and finally became a trip hazard someone actually tripped on. When it came time to book a concrete leveling crew, knowing how to prepare for a walkway leveling appointment properly was the difference between a two-hour fix and a rescheduled job that cost an extra service fee. That fee was $75, entirely avoidable, and the reason I started paying closer attention to what preparation actually means in practice.
Most homeowners show up on appointment day having done nothing. The gate is locked, a car is parked over the worst slab, and nobody called 811. The crew either waits, charges a delay fee, or leaves. None of those outcomes are good. What follows is what I’ve seen work — and the specific conditions that change the checklist.
What to do in the 72 hours before your appointment
The most effective preparation for a walkway leveling appointment happens three days out, not the morning of. By appointment day, you should have zero open questions — just a clear work zone and a crew that can start immediately.
The single most important step: call 811. This is the national “call before you dig” utility locate service. Mudjacking and foam leveling both require drilling through your concrete slab, and if a gas line, electrical conduit, or irrigation pipe runs beneath your walkway, the crew needs to know. In most states, 811 requires 3 business days to complete a locate. Call early, or your appointment may be cancelled on the day — with no refund of any booking deposit.
- Call 811 (or submit online at call811.com) at least 72 hours before drilling begins. Utilities are marked with colored flags or paint. Photograph the markings so you have a record.
- Photograph every problem slab from three angles: directly above, from the side to show height difference, and from the end of the walkway to show the overall run. Send these to the contractor 48 hours ahead so they arrive with the right equipment and materials loaded.
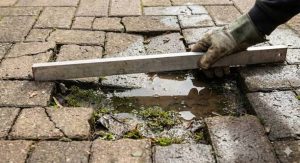
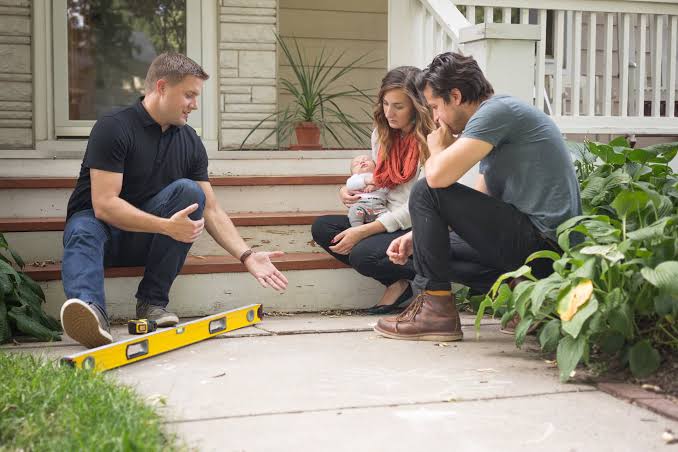
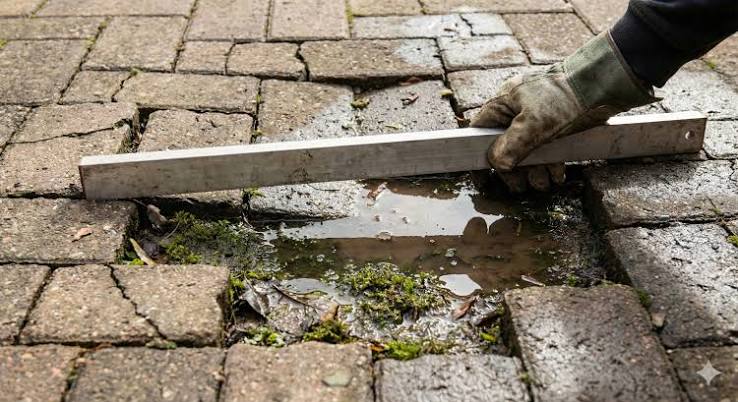
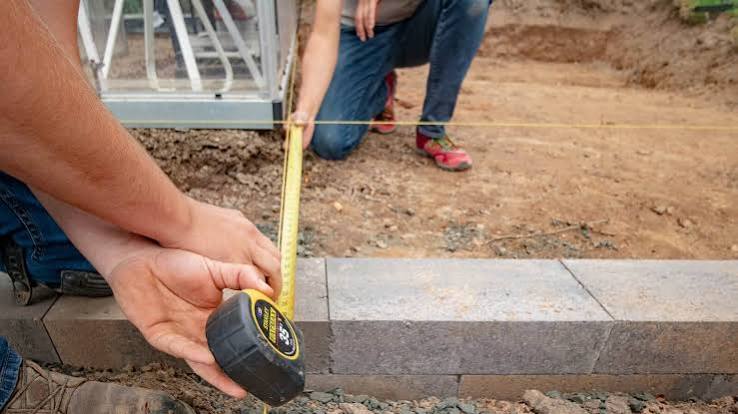
- Measure the height differential on each sunken slab with a tape measure or a straightedge and a ruler. Differentials under 1.5 inches are straightforward. Anything over 2 inches may require a revised estimate on arrival — knowing this in advance prevents surprise costs. You can review typical walkway leveling cost per square foot before the appointment so you’re not negotiating blind.
- Clear the work corridor — 3 feet on each side of the walkway. Move planters, garden hoses, outdoor furniture, and any decorative edging. If a fence gate opens into the work zone, confirm it can stay open for the duration.
- Check the weather forecast. Mudjacking slurry needs at least 24 hours of dry conditions to cure properly. Polyurethane foam is less weather-sensitive but still performs better above 40°F. If rain is forecast within 24 hours, contact the contractor to discuss rescheduling. The best time of year for concrete leveling is late spring through early fall — if your appointment is in winter, cold-weather protocols apply.
Quick check: If you’ve called 811, photographed the slabs, measured the drops, and cleared the corridor — you’re in the top 10% of prepared homeowners. The rest of the checklist is fine-tuning.
Morning-of checklist: what the crew actually needs from you
On appointment day, the crew needs three things immediately: unobstructed access, a point of contact, and dry slabs. Everything else is secondary.
Move any vehicles parked in the driveway or directly in front of the walkway by 7:00 a.m., even if the appointment is at 10:00 a.m. Crews often arrive early to assess the site before starting. A car blocking the work zone is the most common reason jobs start late and finish after dark.
- Unlock any gates, side yards, or garage access points the crew may need.
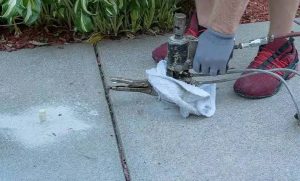
- Sweep loose debris, leaves, or gravel off the slab surface. The drilling holes need to be placed precisely — debris can deflect the drill bit and result in off-center holes.
- If you have pets, secure them inside. Crews use noisy equipment, and a frightened dog complicates everything.
- Mark any sprinkler heads, shallow root zones, or landscape features close to the walkway edge with a small flag or colored tape. Even experienced crews miss these.
- Have your measurement notes and utility locate flags visible. Point them out to the crew lead when they arrive — don’t assume they’ll see them.
- Confirm your availability window. Polyurethane foam jobs often finish in under 2 hours; mudjacking may run 3–4 hours. Someone needs to be home for a final walkthrough and to confirm lift results.
Quick check: Gate unlocked, vehicles moved, pets secured, debris swept, and you’re available for the full appointment window? You’re ready.
The slab information that changes your prep (and the method used)
Knowing your slab specs before the crew arrives can change which leveling method they use — and that directly affects the final cost and cure time. This is the piece most homeowners skip entirely, and it leads to on-site re-quoting that extends appointments by 30–60 minutes.
The two most important specs are slab thickness and soil condition beneath. Residential walkway slabs are typically 3–4 inches thick. Slabs under 3 inches are at higher risk of cracking under the pressure of mudjacking equipment. If your walkway was poured thin (common in homes built before 1980 or in DIY pours), inform the contractor when booking — not on the day. They may switch to polyurethane foam, which expands under lower pressure.
Soil condition matters too. If your walkway slab sinks repeatedly in the same spot every 1–2 years, that signals an ongoing drainage problem or an underground void, not just settling. The concrete leveling statistics around repeat sinkage point to poor sub-base compaction or water erosion as the root cause — leveling the slab without addressing that is a temporary fix. Tell the contractor about any history of repeat settling. A good crew will probe the sub-base before committing to a method.
What to dig up before the appointment
- Original pour date (check home inspection report, permit records, or ask the previous owner)
- Any past repair work on the slab — leveling, sealing, or crack injection
- Whether the area has any history of drainage problems, underground irrigation, or nearby tree root growth
- Whether the slab connects to a structure (house foundation, garage slab, porch) — connected slabs require careful lifting to avoid transferring stress
Slabs connected directly to a house foundation need to be lifted no more than the amount needed to close the gap — overlift by even half an inch and you risk cracking the connection point. Flag this for the crew lead before they start.
Quick check: If your slab is under 3 inches thick, has cracked before, or is connected to a foundation — write those facts down and hand them to the crew lead at the start of the job.
How long does a walkway leveling appointment actually take?
A standard residential walkway leveling appointment takes 1–4 hours, depending on the method and the number of slabs involved. That range is not vague — it breaks down cleanly by method.
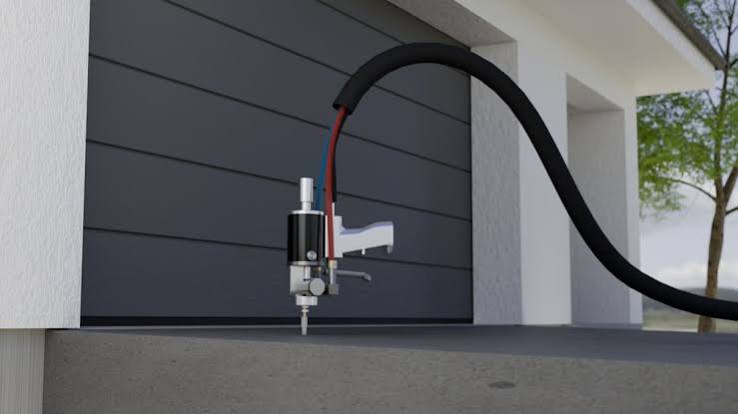
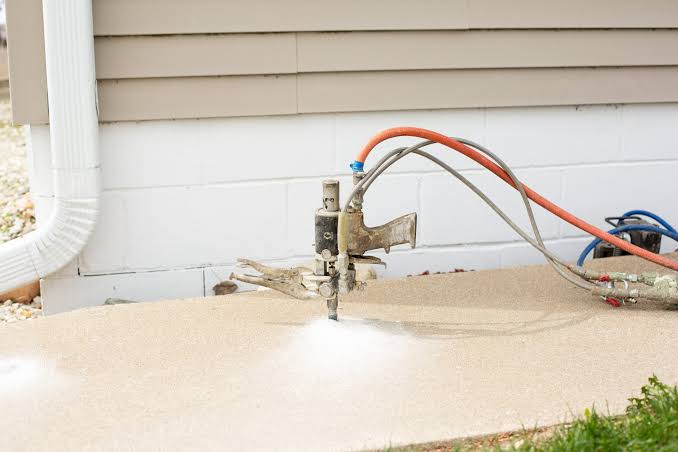
Polyurethane foam injection (brands like PolyLevel or similar) runs 1–2 hours for a typical 100–200 sq ft walkway. The foam expands within seconds, lifts the slab in minutes, and the surface is walkable within 15–30 minutes of completion. Mudjacking — where a cement-sand slurry is pumped beneath the slab — takes 2–4 hours for the same area because the slurry requires mixing, pumping, and more hole placements. Walkability after mudjacking is typically 24 hours, not same-day.
| Method | Typical job time (100–200 sq ft) | Walkable after | Key prep difference |
|---|---|---|---|
| Polyurethane foam | 1–2 hours | 15–30 minutes | Confirm slab thickness; flag utilities |
| Mudjacking | 2–4 hours | 24 hours | Dry conditions critical; no rain 24 hrs post-job |
| Self-leveling compound (DIY for minor gaps) | 3–6 hours total (incl. prep) | 24–48 hours | Surface must be clean and dry; not suitable for slabs sunk more than 1 inch |
| Full slab replacement | 1–2 days | 7 days minimum | Demolition access needed; plan for extended closure |
One detail most articles skip: if your walkway has more than 6 individual slabs to lift, add 30–45 minutes per additional slab pair beyond that. Crews work one section at a time, and each drilling and injection sequence takes time to set before moving on.
Quick check: Confirm the method with your contractor before appointment day so you can plan your schedule accordingly — same-day walkability is a real difference for households with kids, elderly residents, or wheelchair access needs.
Which prep path fits your situation: a decision guide
Preparation for a walkway leveling appointment isn’t one-size-fits-all. The right checklist depends on your slab type, your access situation, and whether there are complicating factors like connected structures or past repairs. Use this guide to find your path.
| Your situation | Best prep path | Where standard advice fails |
|---|---|---|
| Standard residential walkway, no past repairs, 3–4 inch slab | Full standard checklist: 811 call, photos, clear corridor, dry slab | Generic guides skip the 811 step — this one step prevents job cancellation |
| Walkway connected to house foundation or porch | Add: document connection point, flag it, alert crew lead to overlift risk | Most articles don’t mention connection-point cracking risk at all |
| Older home (pre-1980), unknown slab thickness | Request foam method upfront; if crew insists on mudjacking, get a thinness assessment first | Thin slab risk is rarely mentioned — but it changes the whole job outcome |
| Gated property with restricted vehicle access | Confirm equipment fit with contractor (mudjacking trucks are large); arrange street parking permit if needed | Equipment access is the #1 cause of same-day job cancellations in urban settings |
| Walkway with repeat sinkage history | Request sub-base probe before leveling; discuss drainage fix alongside lift | Leveling without drainage fix = same problem in 12–18 months |
Understanding what walkway leveling actually involves — the drilling, the injection, the curing process — helps you have a smarter conversation with the crew when they arrive. Contractors respect homeowners who know the basics. It shortens the explanation phase and gets the work started faster.
Quick check: Find your row in the table above. If your situation involves more than one complicating factor, combine the prep steps from both rows — they stack, not conflict.
When the normal prep advice breaks down
Standard walkway leveling prep assumes average conditions. When conditions aren’t average, following the standard checklist can still result in a problematic appointment. Here are the six scenarios where the usual advice doesn’t hold — and what to do instead.
1. Irrigation lines running under the walkway
811 locates utility lines, not private irrigation systems. If you have a sprinkler system, pull up the original irrigation map (often stapled inside the irrigation controller box or available from the installer) and share it with the crew. Irrigation pipes are PVC, typically 6–12 inches below grade — well within drilling range. A hit line means an additional repair bill and a soggy subsoil that undermines the leveling work.
2. HOA or permit requirements
Some homeowners associations require prior approval for concrete repair work, even non-structural leveling. Check your HOA covenants at least a week ahead — not the night before. Some municipalities also require a minor permit for concrete work. Your contractor should know local requirements, but confirm it yourself. A stopped job mid-pour is expensive for everyone.
3. Extreme heat (above 95°F surface temp)
Mudjacking slurry sets faster in heat, which can cause uneven lift if the crew doesn’t account for it. Polyurethane foam is less affected but can off-gas more aggressively in high heat. If your appointment falls on a day with extreme heat, schedule for early morning (before 9:00 a.m. surface temp) and let the contractor know so they can adjust mix ratios or working pace.
4. Adjacent landscaping you want to protect
Mudjacking involves a crew moving a heavy pump truck close to the walkway. Established perennial borders, shallow-rooted shrubs, or recently seeded lawn areas can be damaged by equipment. Temporarily stake or flag the boundary 2 feet out from the walkway edge and have a direct conversation with the crew lead before they start moving equipment. Don’t rely on them noticing on their own.
5. Cracked (not just sunken) slabs
A slab with a full-depth crack running its width is not the same as a sunken slab. Leveling a cracked slab without crack repair first can widen the crack as the slab is lifted. If your slab has cracks wider than 1/4 inch, ask the contractor about crack stitching or epoxy injection before the lift. Some crews do this as part of the same appointment; others subcontract it. Know which category your crew falls into before the day.
6. Frost in the ground
In northern climates, booking a late winter appointment is tempting because prices are often lower. But mudjacking into frost-affected soil — even partially frozen ground at 6 inches depth — means the slurry can’t distribute evenly beneath the slab. The result is an uneven lift that settles again once the ground thaws. If there’s any chance of frost below the surface, delay the appointment by 3–4 weeks or request a sub-surface temperature check before the crew commits to drilling.
What happens right after the appointment ends?
The hour after a walkway leveling appointment ends is where most homeowners make avoidable mistakes. The job looks finished, but the slab is still in a stabilization window — and what you do (or don’t do) in the next 24 hours affects the longevity of the result.
For polyurethane foam: the slab is walkable within 15–30 minutes. But avoid heavy vehicles or concentrated loads (like a full pallet jack or riding mower) for at least 24 hours. The foam reaches full compressive strength in roughly 24 hours, not immediately on surface hardening.
For mudjacking: 24-hour minimum before foot traffic, 72 hours before vehicle traffic. Do not wash down the slab in that window. The patch holes are filled with a mortar mix that needs a full cure cycle — getting them wet in the first 24 hours weakens the patch.
- Walk the entire leveled section with the crew lead before they leave. Look for any slabs that didn’t achieve the target height — small adjustments are easier to make while the equipment is still on-site.
- Photograph the finished lift from the same angles you used in your pre-appointment documentation. This creates a baseline for any future warranty claim.
- Note the patch hole locations. They should be sealed with matching mortar or foam plug material. If any are left open, ask the crew to complete them before departure.
- Keep the work zone barricaded with cones or rope for the appropriate cure window — not just for vehicles, but for foot traffic if mudjacking was used.
- Watch for any new slab movement or settling in the first 2 weeks. Minor settling of 1–3mm is normal as the material distributes. More than that warrants a call to the contractor under warranty terms.
The post-appointment walkthrough with the crew lead is not optional — it’s the moment to identify any lift that fell short of target before the equipment leaves. Once the truck is gone, getting a crew back for a redo is a separate scheduling and sometimes cost negotiation.
Quick check: Did you walk the slab, photograph the result, confirm all holes are patched, and note the cure window? That’s the full post-appointment checklist. Takes 10 minutes and protects a job that cost several hundred dollars to complete.
- Call 811 at least 3 business days before the appointment — missing this step is the top cause of same-day job cancellation.
- Photograph and measure every sunken slab before the crew arrives; send photos 48 hours ahead to prevent on-site re-quoting delays.
- Polyurethane foam is walkable in 15–30 minutes; mudjacking requires 24 hours — confirm the method before scheduling if access timeline matters.
- Do a post-job walkthrough with the crew lead before they leave — it’s your only cost-free opportunity to catch and correct an incomplete lift.
Common questions about how to prepare for a walkway leveling appointment
Do I need to be home the entire time during the walkway leveling appointment?
You need to be present at the start (to review the work plan with the crew lead) and at the end (for a final walkthrough). You don’t need to watch the whole job. Budget at least 15 minutes at each end of the appointment window and confirm someone is reachable by phone during the work.
How far in advance should I call 811 before a foam leveling appointment?
Call 811 at least 3 business days before the appointment — this is the legally required minimum in most U.S. states. Some regions take up to 5 business days during busy seasons. Submit online at call811.com if you want a confirmation number. Foam leveling still requires drilling, so the locate requirement is the same as for mudjacking.
See also: walkway leveling
See also: walkway leveling cost per square foot
See also: concrete leveling statistics
Related: when to replace vs lift a sunken walkway
Related: what causes a walkway to sink
Related: sidewalk trip hazard repair for HOA